
Risika – Risk & Credit, for SuperOffice
Last updated on 13-11-2023
Please note, you must be a SuperOffice administrator to install and configure this app.
Step 1 – Installation
After you have signed up for Risika – Risk & Credit, which you can do here: https://appstore.superoffice.com/siteshop-aps/risika-risk-credit, you will be redirected to the installation page.
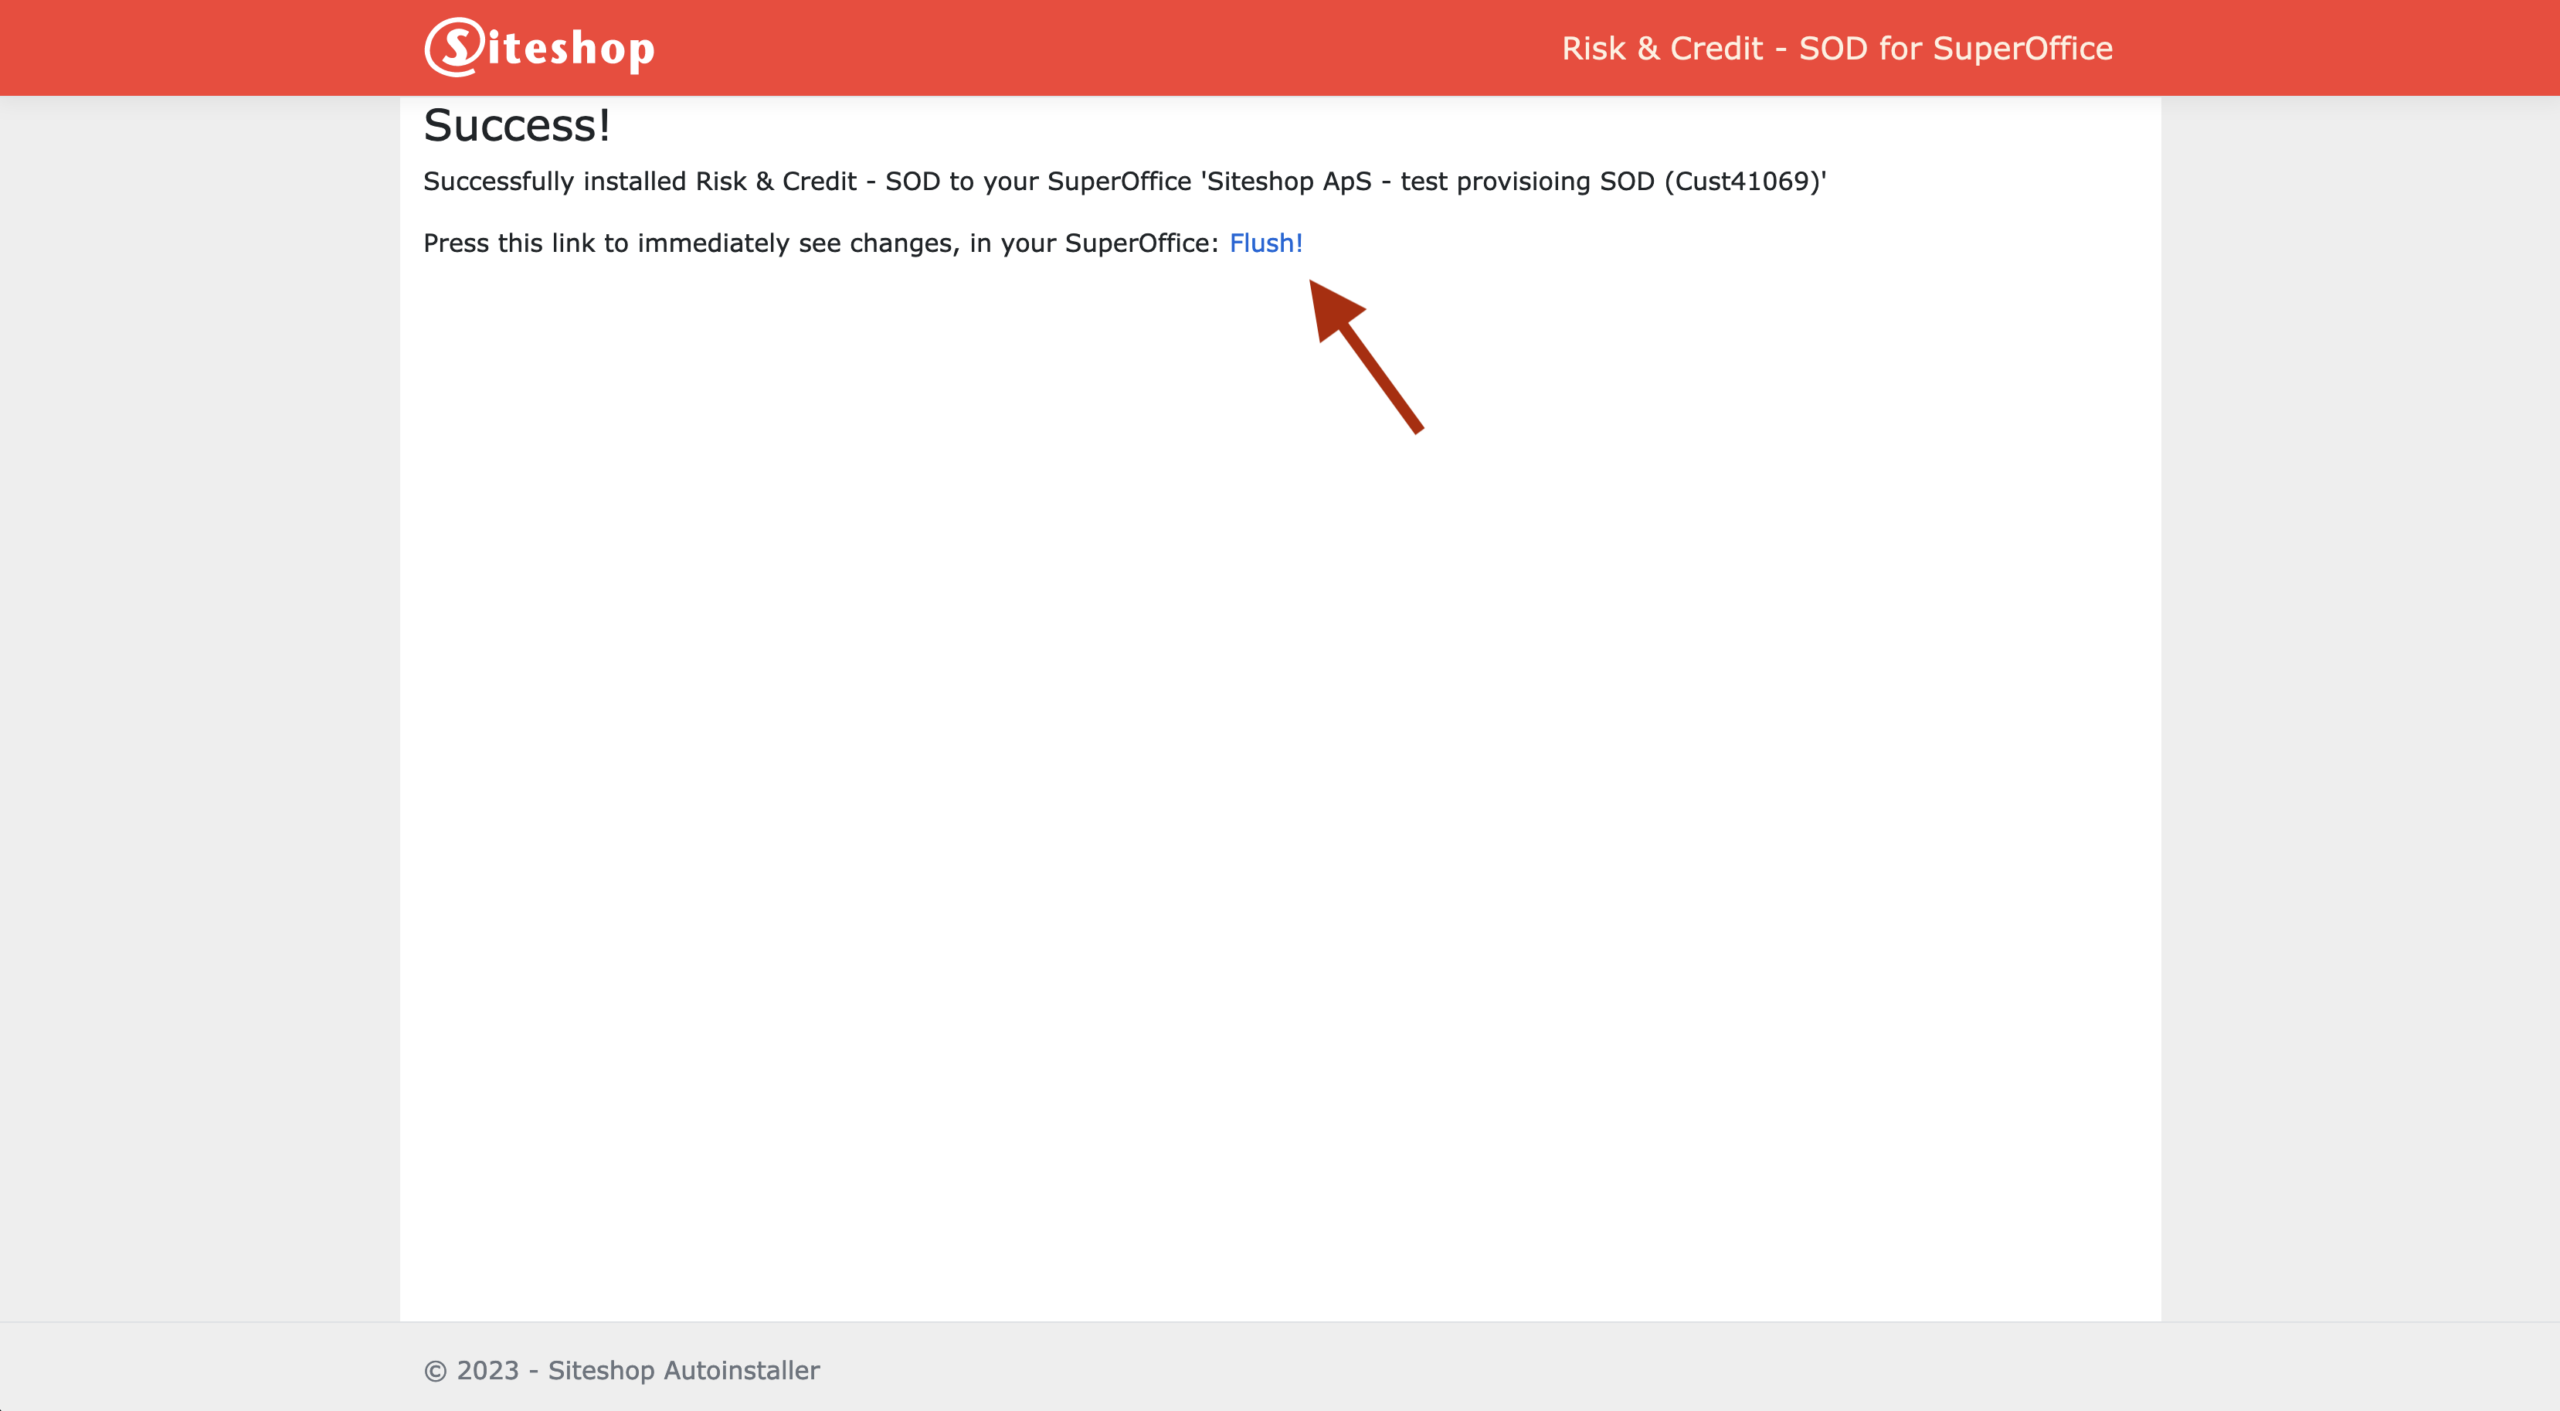
- Here you should click on “Install”, and then you will be redirected to a page with the message “Installation successful”.

- On this page, you will find a very useful link. It is named “Flush!”. Follow the Flush! instructions, so you can start using Risika – Risk & Credit right away, instead of waiting 24 hours for the cache to reset itself.
Step 2 – Assign the appropriate roles
To use Siteshop Apps in SuperOffice, users need to be assigned relevant roles. Here’s how you can do this.
Step 3 – API Token
To complete the configuration and activate your Risika API Token follow these steps:
Press the SuperOffice logo in the top left corner, and access the “Risika – Risk & Credit Admin” panel.
This panel is only available for users in the “Risika Risk & Credit Admin” user group (see step 2).
When you have clicked on Risika – Risk & Credit Admin, you will come to the following page, where you have the opportunity to customize various information according to your needs.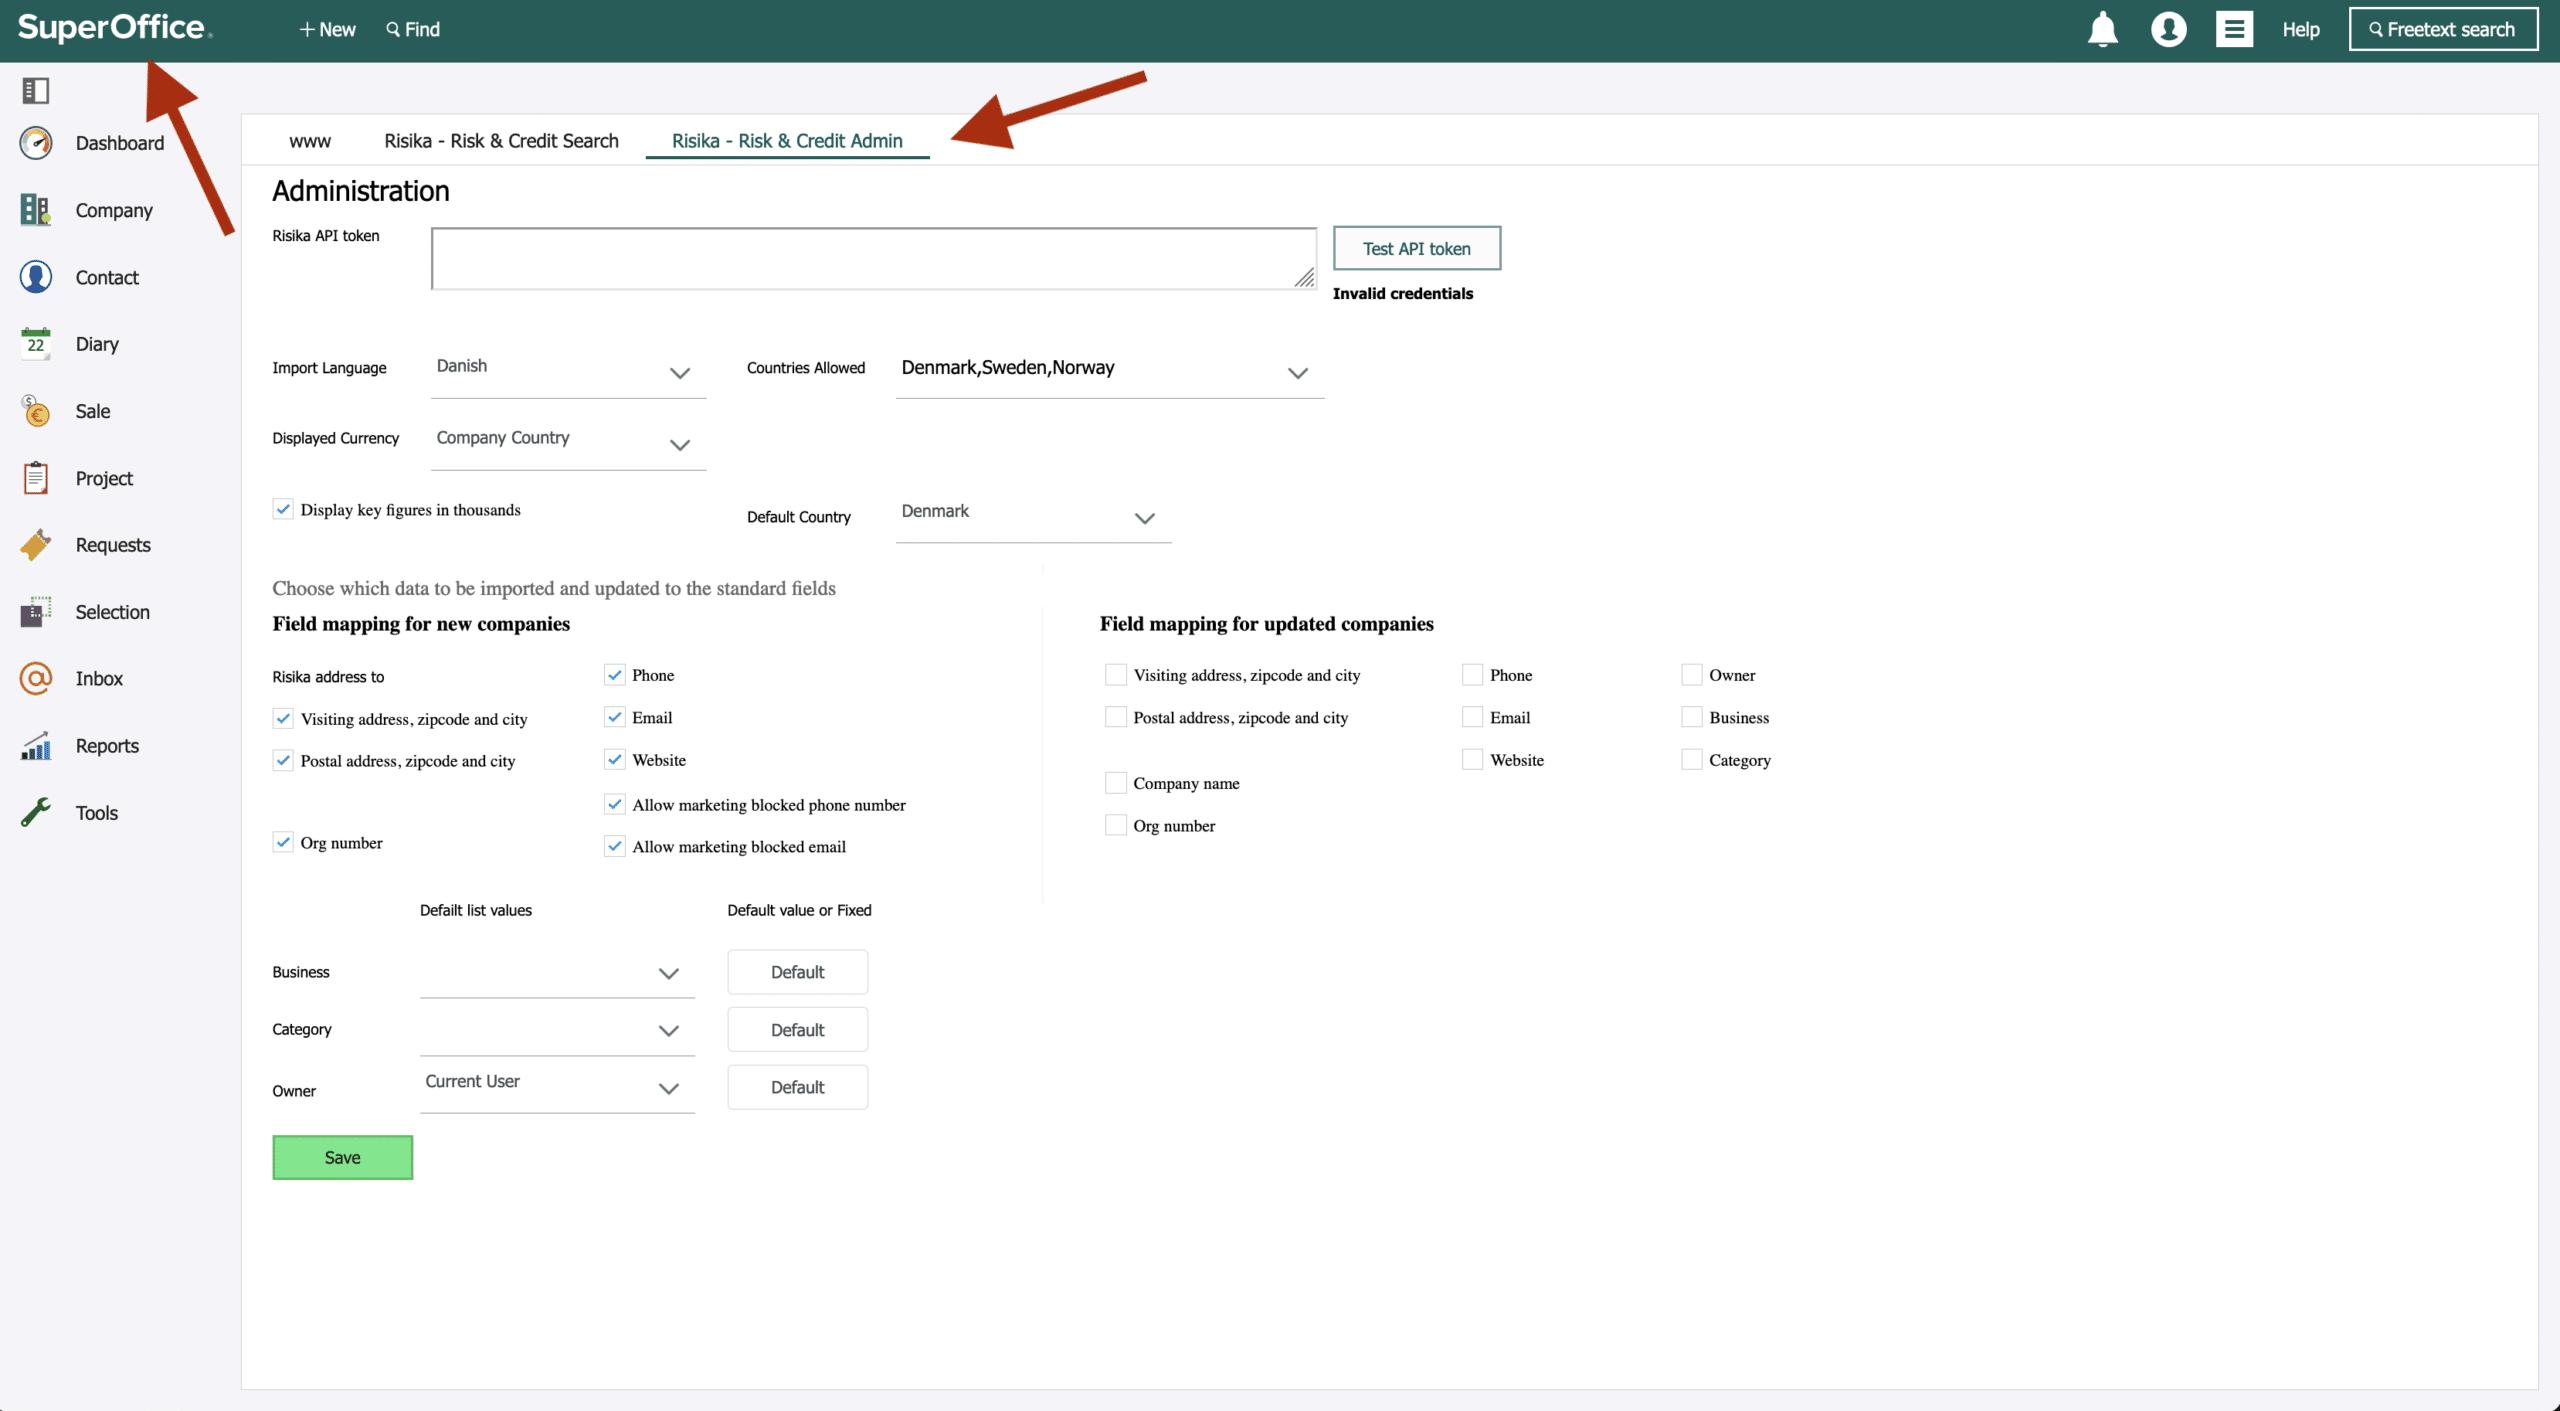
NB. Follow these steps if you are unable to see the web panels
Sometimes, the web panels may not appear immediately. Here’s how you can address this issue.
Risika – Risk & Credit Admin
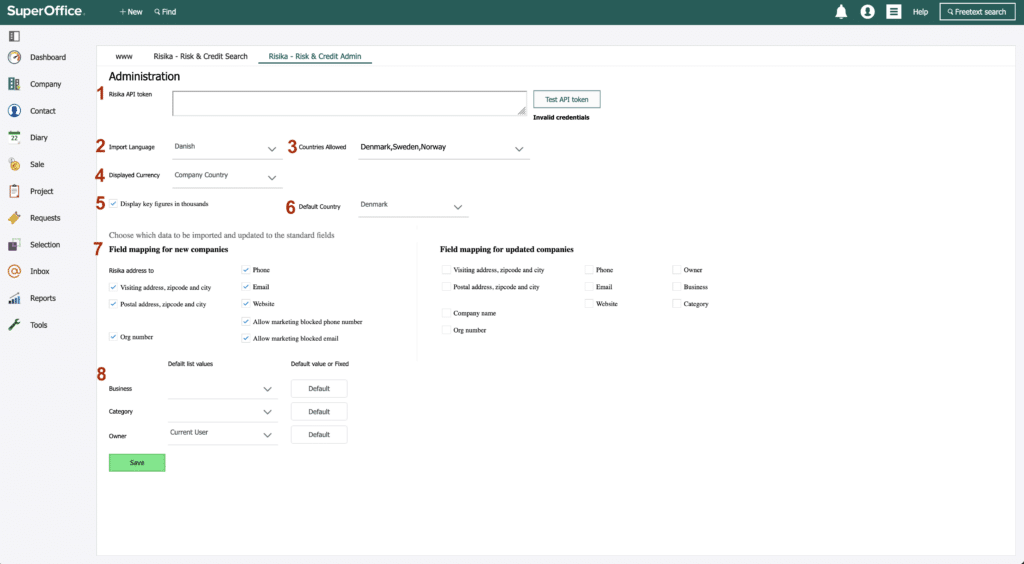
- Risika API token
Enter the API token received from Risika to enable CRM integration. - Import Language
Select the language to be used when importing data into the CRM. - Countries allowed
Select the default country that will be used for searching. - Displayed currency
Choose the currency to be used when displaying credit max and key figures. - Display key figures in thousands
Enable this option to display key figures in thousands. - Default Country
Select the default country that will be used for searching. - Field mapping
Select which standard fields to map when importing and updating data. - List field mapping
Choose how company list fields are handled for new imported companies.
Owner, Business and Category fields can either have a default value or a fixed value.
Owner list can either choose the current user or a specific user from the list.- Default will preselect a value but allow user to change it.
- Fixed will preselect a value and not allow user to change it.
- Click save when finished